Thursday, 29 March 2012

Lovely lace...

Lace and broderie anglais are all over the catwalk for Spring/Summer 2012, here are a few of my favourite pieces...


Louis Viutton ready to wear


Valentino coture


Ooh it's been a while since I've done a fashion post!
So I've had some lace in my drawer for ageees now and I plan to make it into a square necked blouse, allthough I fully intend to, we'll see if I actually have the time...watch this space!

Thank you for reading :)

pictures from style.com

Wednesday, 28 March 2012

Feelin' thrifty

A few thrifty tips for you :)

When shopping in charity shops you often have to sift through a lot before you find something you want so it's best to go in with an open mind.

Allways look at the care labels-look for fibre content- wool and cashmere are good to look out for, both of which I have found plenty of before.

If you sew allways keep your scraps as they can come in very useful at some point. I keep mine all toegther in a case.

Even the tiniest of scraps...


I made this mini bunting from small scraps of floral fabric left over from bigger projects.

Making paper

I recently tried making paper for the first time; here is a quick breakdown of how it's made. Sorry I forgot to take photos during the making process so you will have to use your clever imaginations!! But I do have my final outcome pictures!

If you don't want instructions then you can scroll down past the purple text to see pictures of my paper, and you have my permission to ingnore the next few paragraphs!!

Fistly you need some paper such as old documents, newspaper, wrapping paper or I used maps, but pretty much any old paper will do!

Then the paper needs to be shredded or torn into small pieces (If you are using a shredder make sure you cut the long strips up or you will have stringy paper). The paper then needs to be soaked in plenty of water ideally for a few hours until it absorbs some of the moisture.

Next you need to put a couple of genorous handfulls of your paper mulch into a blender (preferably one not used for food!!) and top up with water so that it covers the paper, blend this for a short period of time, checking at regular intervals. I think it's nice to have a few bits of paper still intact so make sure you don't over blend it. Pour your blended paper into a deep tray and top up with plenty of water.

The next bit gets exciting (Well to me anyway), you need something to seive the water, I used a flat sheet of wire mesh. With this you place the wire into the tray and use your hands to make sure the mulch covers the wire and lift out of the try. Make sure you have something flat and very absorbent to put the wire onto, such as a pile of newspaper or tea towels.

Cover your paper with a j-cloth and squeeze the water out (you may need to use a rolling pin at some point). When enough water has been removed you should be able to take the wire away from the paper.

And finally, when leaving it to dry make sure you place it on a j-cloth and somewhere flat, this will probably take at least 24 hours to fully dry.

I hope my instructions have been useful, even without pictures (I know I'm useless sometimes!!)

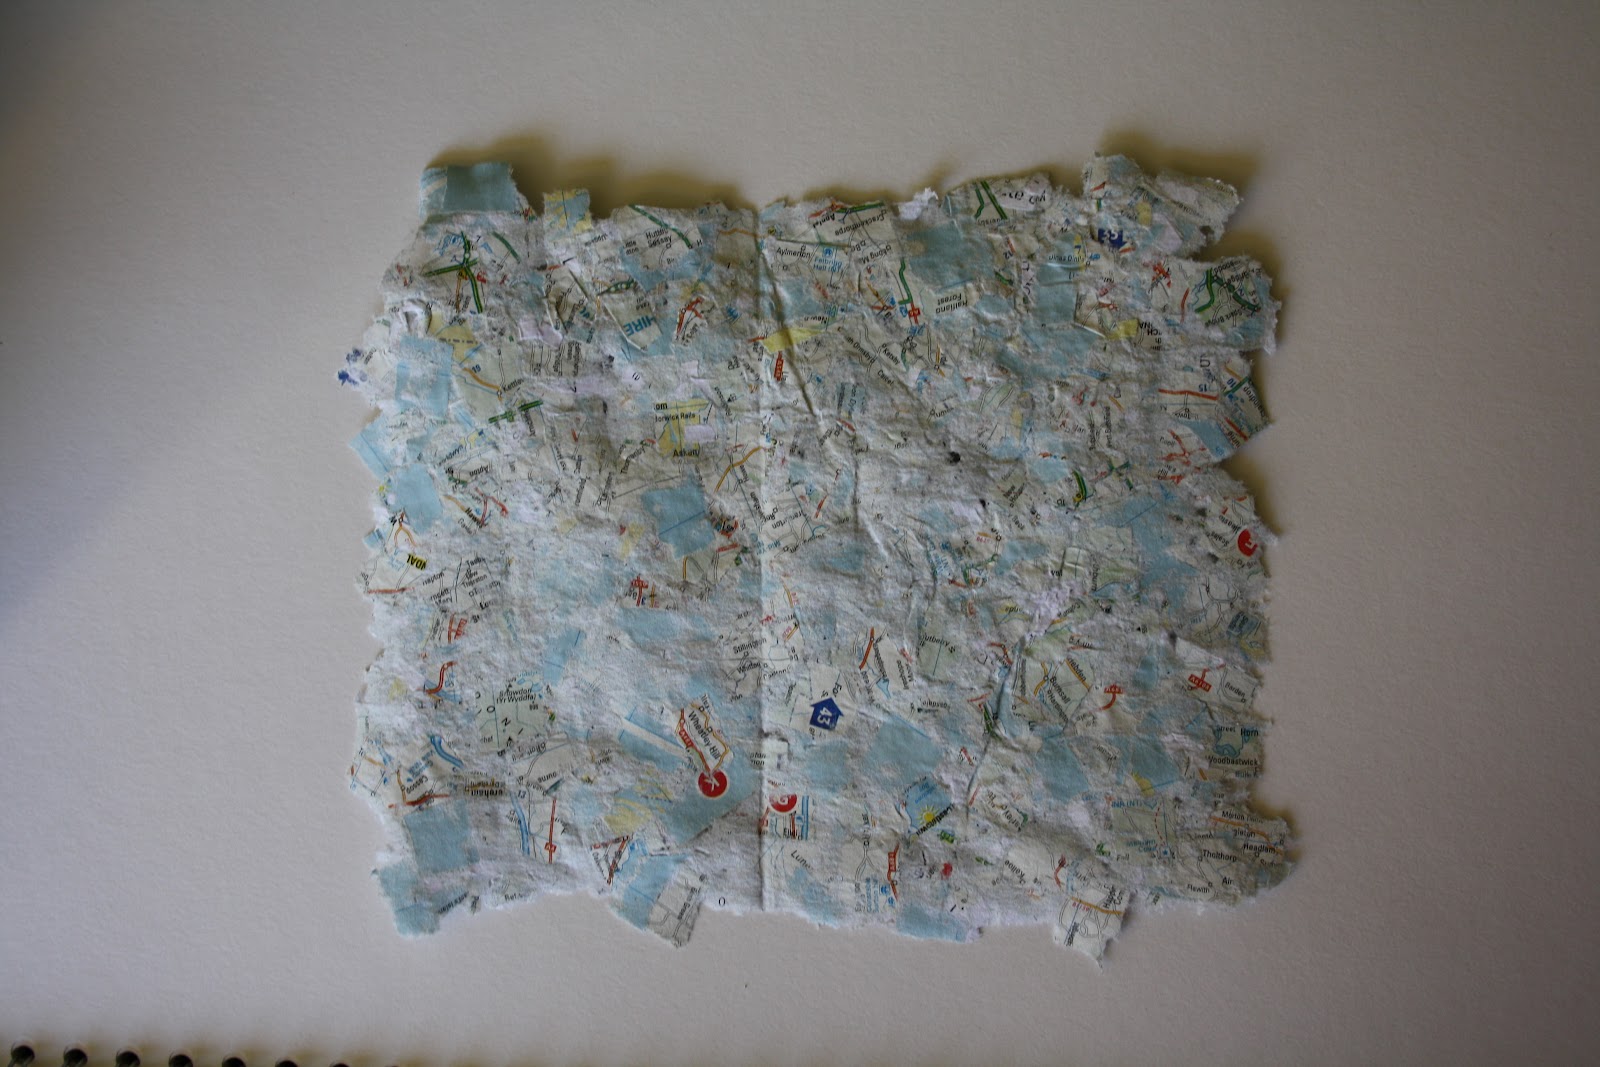
Here are my handmade papers...

For this one I used torn up maps for a different effect.

 This was made by adding other materials to the paper mulch after blending.
 Embroidery

 I created some 3D papers by using a mould, which is covered in vasaline (to stop the paper sticking) and then the wet paper is draped over the top before drying.

 The mould is made out of foamboard.

 I also think that adding other maerials such as dried flowers could create some beatutiful paper.
Thank you for reading,
Millie x

Monday, 20 February 2012

The White Rabbit

I recently attended a friends fancy dress party with the theme of 'film characters'. I decided to go as the white rabbit from Alice in Wonderland!

 My amazing impression of a rabbit...

White blouse-  £3 in H&M Sale!!
Jacket-  French Connection £3.50 in St.Wilfred's Charity shop
Watch necklace (Used as a pocket/fob watch)- £12 Claire's accessories
Bow tie- Made by me
hounds-tooth shorts-previously owned (River Island)
White cable knit tights- previously owned
Tail- made out of an old Christmas decoration and a sock!
Ears- Made by me

The ears and bow-tie (well not a proper bow-tie as it was done up with a safety pin!) were both very easy to make so if anyone ever needs a step by step guide...admittedly not very likely...let me know :)

Sunday, 19 February 2012

Cake Pops

For those who don't know, a cake pop is basically a cake on a stick. My description though, I have to say does not do them justice as they can look very pretty and taste pretty good too.

For mine I used a recipe from 'Pop Bakery' by Claire O'Connell available from Amazon for around £5, but there are lots of other books too.

First things first...I rounded up my willing helpers :)


All cake pops start life as a bog standard cake (I made mine chocolate)


You then crumb the cake and mix it with cream cheese and icing sugar, before moulding into spheres or any shape you choose.


 Toadstalls!!

And next it's time to decorate! All cake pops need a candy melt shell but then you can experiment with all sorts of toppings and decorations.

This was my first attempt at cake pops and there is definately room for improvement :p
So here they are-well the ones that were half decent!


Sorry, I forgot to take the photos before putting the celephane wraps on!
 
The mountain of mess to clear up...

They didn't go perfectly but were really yummy! I will post again when I make them again (hopefully more successfully!)


Tuesday, 14 February 2012

Happy Valentine's

Just a quick peek at what I am sewing at the moment as it seemed appropriate given the date. 
'Hearts-a-flutter' by Cinnamon Patch pattern.
Still work in progress,
<3

Wednesday, 1 February 2012

1950s

For my last college project I was looking at 'Fashion eras' and decided to focus on the nineteen fifties.
Moodboard
I started by doing some research on events, themes, artists and designers from the era and inspired by the fifties.


One thing I found particularly intersting was the fact that the structure of DNA was discovered in the fifties along with other advances in science. This inspired me to create some prints taken from the structure of different cells.

Mono printing


Another key theme in fifties print was abstract florals, I had a go at creating some of my own...


I also experimented with other printing and textile techniques.


I wont bore you with my entire sketchbook! Here are a few pictures of my final piece.
It's difficult to see in this picture but the dress below comes with a detatchable transparent PVC overskirt! And the blouse has a PVC collar.
 Also there is a dandelion print on the hemline of the capri pants and dress.


Thanks for reading,
M
x