I recently tried making paper for the first time; here is a quick breakdown of how it's made. Sorry I forgot to take photos during the making process so you will have to use your clever imaginations!! But I do have my final outcome pictures!
If you don't want instructions then you can scroll down past the purple text to see pictures of my paper, and you have my permission to ingnore the next few paragraphs!!
Fistly you need some paper such as old documents, newspaper, wrapping paper or I used maps, but pretty much any old paper will do!
Then the paper needs to be shredded or torn into small pieces (If you are using a shredder make sure you cut the long strips up or you will have stringy paper). The paper then needs to be soaked in plenty of water ideally for a few hours until it absorbs some of the moisture.
Next you need to put a couple of genorous handfulls of your paper mulch into a blender (preferably one not used for food!!) and top up with water so that it covers the paper, blend this for a short period of time, checking at regular intervals. I think it's nice to have a few bits of paper still intact so make sure you don't over blend it. Pour your blended paper into a deep tray and top up with plenty of water.
The next bit gets exciting (Well to me anyway), you need something to seive the water, I used a flat sheet of wire mesh. With this you place the wire into the tray and use your hands to make sure the mulch covers the wire and lift out of the try. Make sure you have something flat and very absorbent to put the wire onto, such as a pile of newspaper or tea towels.
Cover your paper with a j-cloth and squeeze the water out (you may need to use a rolling pin at some point). When enough water has been removed you should be able to take the wire away from the paper.
And finally, when leaving it to dry make sure you place it on a j-cloth and somewhere flat, this will probably take at least 24 hours to fully dry.
I hope my instructions have been useful, even without pictures (I know I'm useless sometimes!!)
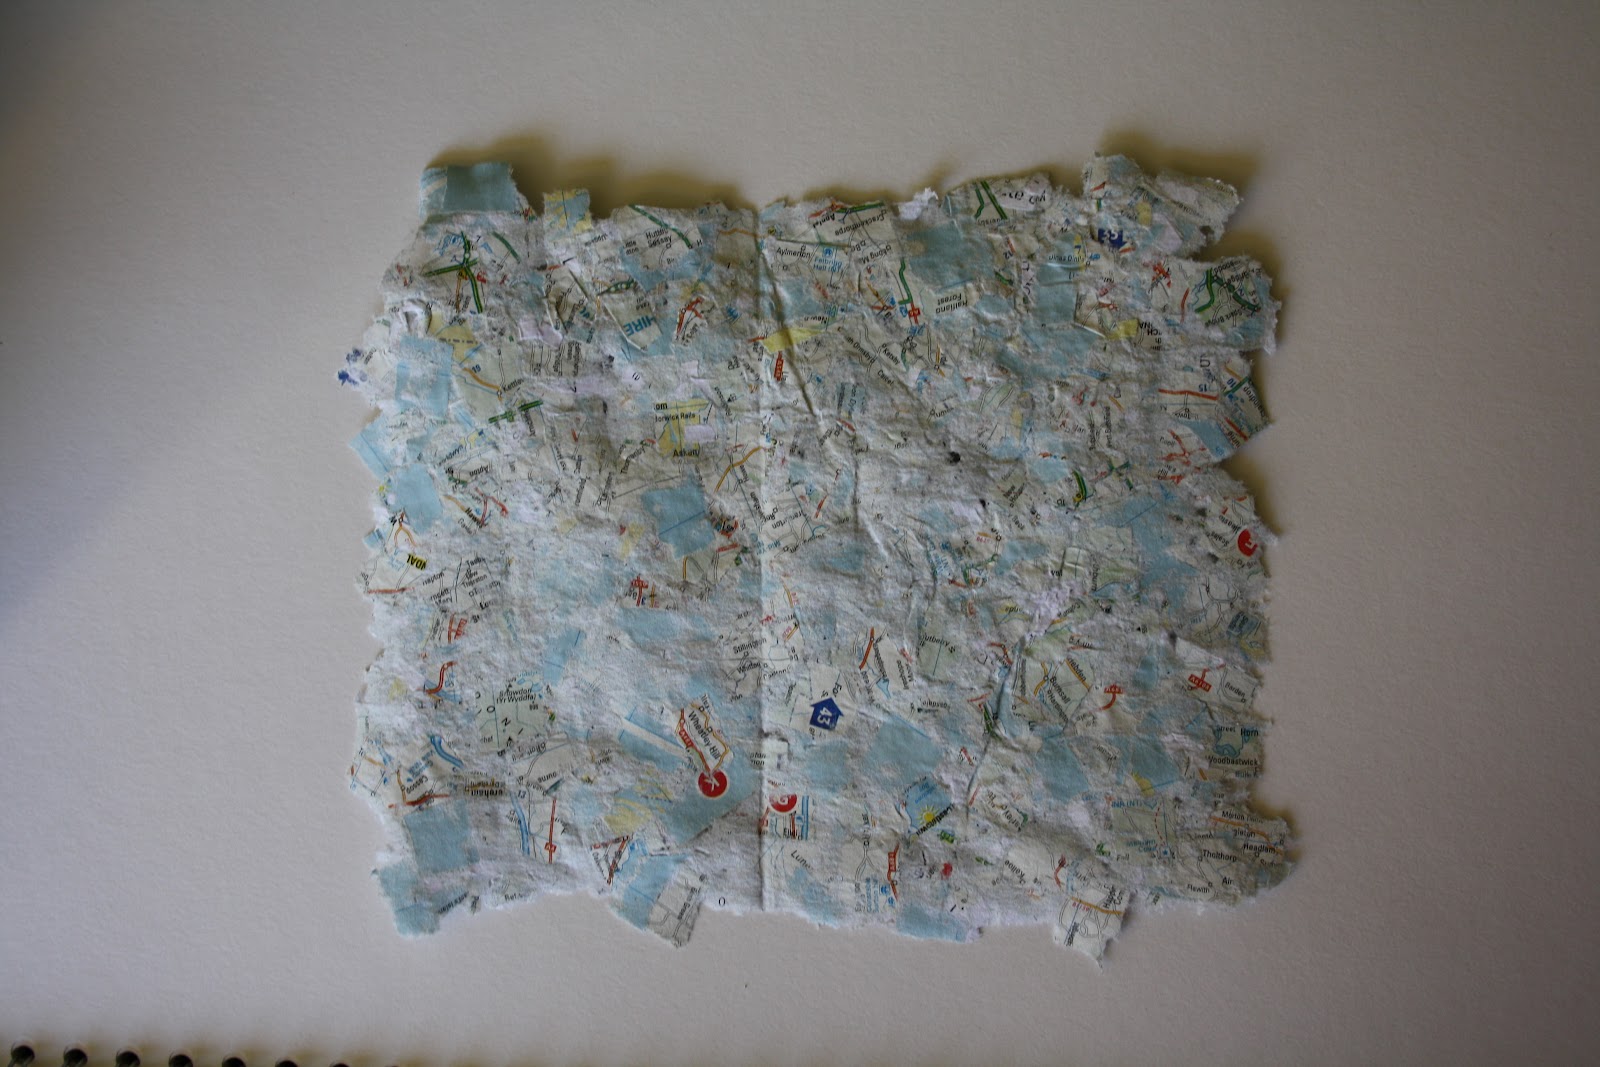
Here are my handmade papers...
For this one I used torn up maps for a different effect.
This was made by adding other materials to the paper mulch after blending.
Embroidery
I created some 3D papers by using a mould, which is covered in vasaline (to stop the paper sticking) and then the wet paper is draped over the top before drying.
The mould is made out of foamboard.
I also think that adding other maerials such as dried flowers could create some beatutiful paper.
Thank you for reading,
Millie x