Wednesday, 30 May 2012

Final Major Madness...

Hello, I must start this post by apologizing as it has been far too long since I last posted, but I have been in the midst of my final major project and have been crazy busy! So I thought I would show you what I have been doing.

As some of you may know from previous posts, I was doing my project on Cartography, however I decided several weeks into this that it wasn't right for me! I am now doing a project called 'Woodland life' and I think I have caught up now! It's been a really good topic for creating textile samples and print designs, here are a few of my favorites...

French knots on velvet- this sample reflect the bluebells in Woodlands.
 Machine embroidery

 Heat transfer owls
 I did some sketches of different elements of woodlands from photographs I took at Swanbourne lake woodlands.
 Manipulated sketches- I repeated my sketches to create a print design.
Heat transfer 


 Heat transfer leaf skeletons

copy of William Morris' 'Strawberry Thief'
 William Morris style mouse design

 Copies of Ernst Haeckel botanical drawings in biro with addition of knitted rendering.
 Copies of Yoko Furusho's illustrations
 Lino printing with french know detail
 Machine embroidery with wool thread
 Hand dyed Calico

And here are some of my designs...


 You may have noticed design two is looking slightly bare, but let me re-assure you this is just because I haven't drawn in the detail yet, it will be covered in heat transfer leaves!

I have nearly finished making design one so far and I will post the pictures when they are all finished!

Thanks for reading,

Millie
x

Saturday, 21 April 2012

Exciting collaboration!

Oh my goodness... Dr. Martens are doing a collaboration with Liberty's, these are my two favourite things in one item!
The theme of the collaboration is 'Wild Nature' and will be available from 1st June 2012.
Here are a few of my fave pieces...
£170

£140

£145

Pictures from Dr. Martens website
http://store.drmartens.co.uk/t-liberty.aspx

Soo excited for this!!

Thursday, 19 April 2012

Sally brown costume

I recently made a costume for the character Sally Brown for a musical theatre production of 'You're a good man Charlie Brown'.


The original cartoon


 The dress complete with matching bow! <3
 Apollogies for the photographs, I seem to look sad...which I wasn't!

The final costume will be completed with a pair of bright pink socks!

Thanks for reading,
Millie x

Saturday, 14 April 2012

Easter cake

A bit late I know...but my friends and I made an Easter cake that I thought I should share with you lovely people! The recipe was from the Tesco Real Food website and it was the children's chocolate cake.

Can you spot the face?!


 Mmmm...this was the chocolate sauce/coating for the cake.
 Allways the best bit about baking?
 The finished cake!

 It even had a secret white chocolate oozy layer in the middle!!
Overall, I say...success! Very tasty and fun to make! 
This is Anna "Clearing up" :)  

Hope you enjoyed

M

x

Thursday, 29 March 2012

Lovely lace...

Lace and broderie anglais are all over the catwalk for Spring/Summer 2012, here are a few of my favourite pieces...


Louis Viutton ready to wear


Valentino coture


Ooh it's been a while since I've done a fashion post!
So I've had some lace in my drawer for ageees now and I plan to make it into a square necked blouse, allthough I fully intend to, we'll see if I actually have the time...watch this space!

Thank you for reading :)

pictures from style.com

Wednesday, 28 March 2012

Feelin' thrifty

A few thrifty tips for you :)

When shopping in charity shops you often have to sift through a lot before you find something you want so it's best to go in with an open mind.

Allways look at the care labels-look for fibre content- wool and cashmere are good to look out for, both of which I have found plenty of before.

If you sew allways keep your scraps as they can come in very useful at some point. I keep mine all toegther in a case.

Even the tiniest of scraps...


I made this mini bunting from small scraps of floral fabric left over from bigger projects.

Making paper

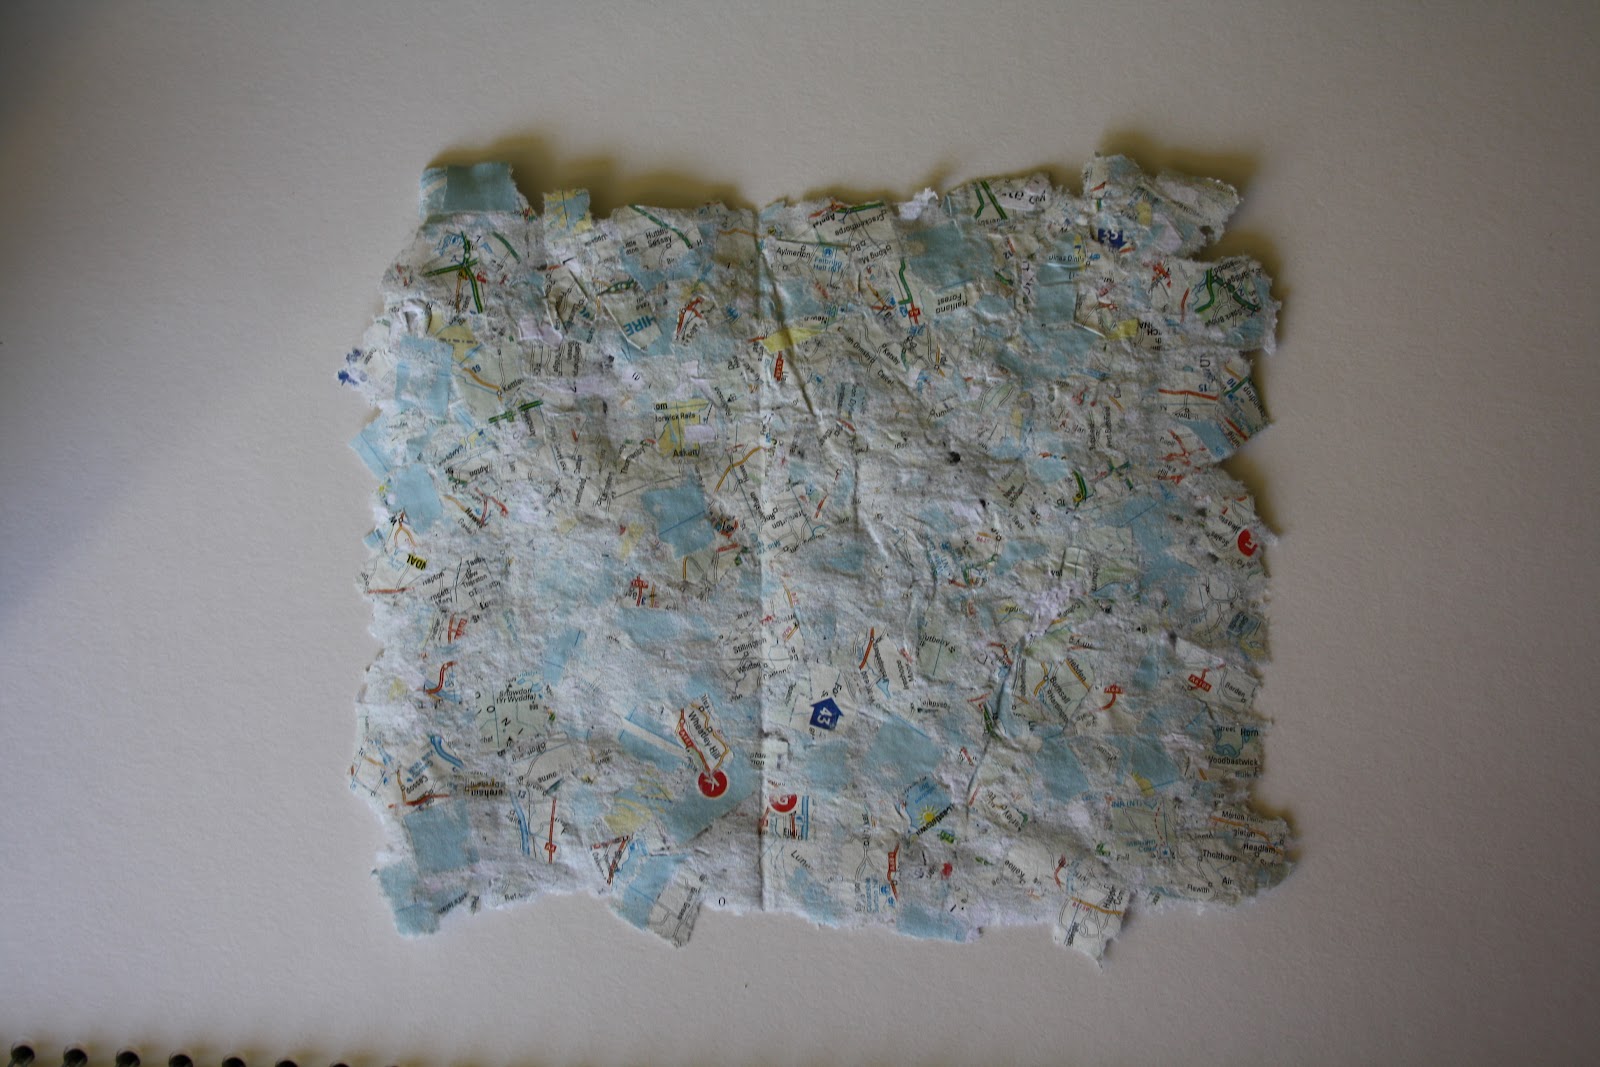
I recently tried making paper for the first time; here is a quick breakdown of how it's made. Sorry I forgot to take photos during the making process so you will have to use your clever imaginations!! But I do have my final outcome pictures!

If you don't want instructions then you can scroll down past the purple text to see pictures of my paper, and you have my permission to ingnore the next few paragraphs!!

Fistly you need some paper such as old documents, newspaper, wrapping paper or I used maps, but pretty much any old paper will do!

Then the paper needs to be shredded or torn into small pieces (If you are using a shredder make sure you cut the long strips up or you will have stringy paper). The paper then needs to be soaked in plenty of water ideally for a few hours until it absorbs some of the moisture.

Next you need to put a couple of genorous handfulls of your paper mulch into a blender (preferably one not used for food!!) and top up with water so that it covers the paper, blend this for a short period of time, checking at regular intervals. I think it's nice to have a few bits of paper still intact so make sure you don't over blend it. Pour your blended paper into a deep tray and top up with plenty of water.

The next bit gets exciting (Well to me anyway), you need something to seive the water, I used a flat sheet of wire mesh. With this you place the wire into the tray and use your hands to make sure the mulch covers the wire and lift out of the try. Make sure you have something flat and very absorbent to put the wire onto, such as a pile of newspaper or tea towels.

Cover your paper with a j-cloth and squeeze the water out (you may need to use a rolling pin at some point). When enough water has been removed you should be able to take the wire away from the paper.

And finally, when leaving it to dry make sure you place it on a j-cloth and somewhere flat, this will probably take at least 24 hours to fully dry.

I hope my instructions have been useful, even without pictures (I know I'm useless sometimes!!)

Here are my handmade papers...

For this one I used torn up maps for a different effect.

 This was made by adding other materials to the paper mulch after blending.
 Embroidery

 I created some 3D papers by using a mould, which is covered in vasaline (to stop the paper sticking) and then the wet paper is draped over the top before drying.

 The mould is made out of foamboard.

 I also think that adding other maerials such as dried flowers could create some beatutiful paper.
Thank you for reading,
Millie x